Simulation (UE5)
The UE5 simulation spins up the robot side of the system:
- AGVs — the mobile robots, driven with VDA5050
ordermessages. - Devices — robotic arms, conveyors and racks, driven with
task_requestmessages.
You control all of it over MQTT on the broker at localhost:1883.
The simulation starts in fullscreen mode by default.
- Move:
W A S D - Toggle fullscreen:
Alt + Enter - Map marker:
M
Control an AGV (VDA5050) via Mqtt
Drive an AGV by publishing a VDA5050 order to:
uagv/v2/Manufacturer/<serial>/order{
"headerId": 1234,
"timestamp": "2026-06-05T06:32:29.962Z",
"version": "2.0.0",
"manufacturer": "Manufacturer",
"serialNumber": "10",
"orderId": "order-<uuid>",
"orderUpdateId": 1,
"nodes": [
{
"nodeId": "P123",
"sequenceId": 0,
"released": true,
"nodePosition": {
"x": -0.6,
"y": -49.3,
"theta": 0.0,
"allowedDeviationXY": 0.5,
"allowedDeviationTheta": 0.5,
"mapId": "urn:ngsi-ld:Map:warehouse_os_setup"
},
"actions": []
}
],
"edges": []
}The AGV reports back on these topics:
| Topic | Direction | Purpose |
|---|---|---|
uagv/v2/Manufacturer/<serial>/order | → sim | Drive the AGV to a node |
uagv/v2/Manufacturer/<serial>/state | sim → | Pose, lastNodeId, driving, battery, … |
uagv/v2/Manufacturer/<serial>/connection | sim → | Online / offline |
The AGV has arrived when its /state reports lastNodeId == <your nodeId> and driving == false:
{
  "agvPosition": { "x": 4.39, "y": -3.85, "theta": -1.74 },
  "batteryState": { "batteryCharge": 100.0, "charging": false },
  "driving": false,
  "lastNodeId": "P123",
  "operatingMode": "AUTOMATIC",
  "orderId": "order_1780640519",
  "serialNumber": "10",
  "timestamp": "2026-06-05T06:32:29.962Z",
  "version": "2.0.0"
}
Control a device (task_request) via Mqtt
Trigger a device action by publishing a TaskRequest to:
asset/<asset_id>/task_request{
"id": "urn:ngsild:Task:001:TaskRequest",
"task_type": "liftrack",
"task_command": "liftrack",
"asset_id": "1",
"task_params": {}
}What actually matters
Only task_type, task_command and the target asset_id drive behaviour. task_command defaults to task_type; the rest of the payload is along for the ride.
The task_type you send and the asset_id you address it to go together:
task_type | Addressed to (asset_id) | Action |
|---|---|---|
liftrack / droprack | the AGV serial (e.g. 1, 10) | AGV lifts / drops the rack at its current spot |
depalletize | a manipulator — ManipulatorRobot1, ManipulatorRobot2 | Robot arm performs a pickup |
dropoff | a conveyor — Conveyor1 … Conveyor3 | Conveyor accepts the dropoff |
The device reports back on these topics:
| Topic | Direction | Purpose |
|---|---|---|
asset/<asset_id>/task_request | → sim | Trigger an asset action |
asset/<asset_id>/task_status | sim → | Task lifecycle: STARTED / RUNNING / COMPLETED / FAILED / REJECTED |
asset/<asset_id>/asset_status | sim → | Per-asset heartbeat |
The action is done when task_status reports COMPLETED:
{
  "id": "urn:ngsild:Task:task_Depalletize001:TaskStatus",
  "task_type": "Depalletize",
  "status": "RUNNING",
  "asset_id": "",
  "task_params": {},
  "timestamp": "2025-01-09T15:30:15Z",
  "task_expected_start": "2025-01-09T14:30:15",
  "task_expected_end": "2025-01-09T15:30:15"
}
asset_status (heartbeat):
{
  "asset_id": "MANIP1",
  "asset_type": "Manipulator",
  "status": "BUSY",
  "timestamp": "2025-01-09T15:30:10Z",
  "current_task": "urn:ngsild:Task:task_Depalletize001:TaskRequest",
  "error_code": [0],
  "error_message": []
}
Full demo walkthrough
demo_single_agv.py runs one AGV through a complete pick → manipulate → conveyor cycle. Each step below is one MQTT publish (and the wait for its completion).
Run it
Prerequisites: the UE5 sim must be running (the demo only publishes to it), and you need the paho-mqtt Python package.
# 1. Make sure the sim is up (demo launcher, or directly):
~/ros_industrial_ws/simulation/Linux/RMF2_SIM.sh

# 2. In another terminal, go to the simulation test scripts:
cd ~/ros_industrial_ws/ros_industrial_demo/test_scripts/simulation

# 3. One-time: install the MQTT client
pip install paho-mqtt

# 4. Run the full demo (default AGV serial 10):
./demo_single_agv.py

#    ...or target a specific AGV serial:
./demo_single_agv.py 12

#    ...then put the rack back and park:
./demo_single_agv_reset.py
TIP
If ./demo_single_agv.py isn't executable, run it with python3 demo_single_agv.py instead. The script connects to the broker at localhost:1883 and prints each step as it publishes and waits for completion.
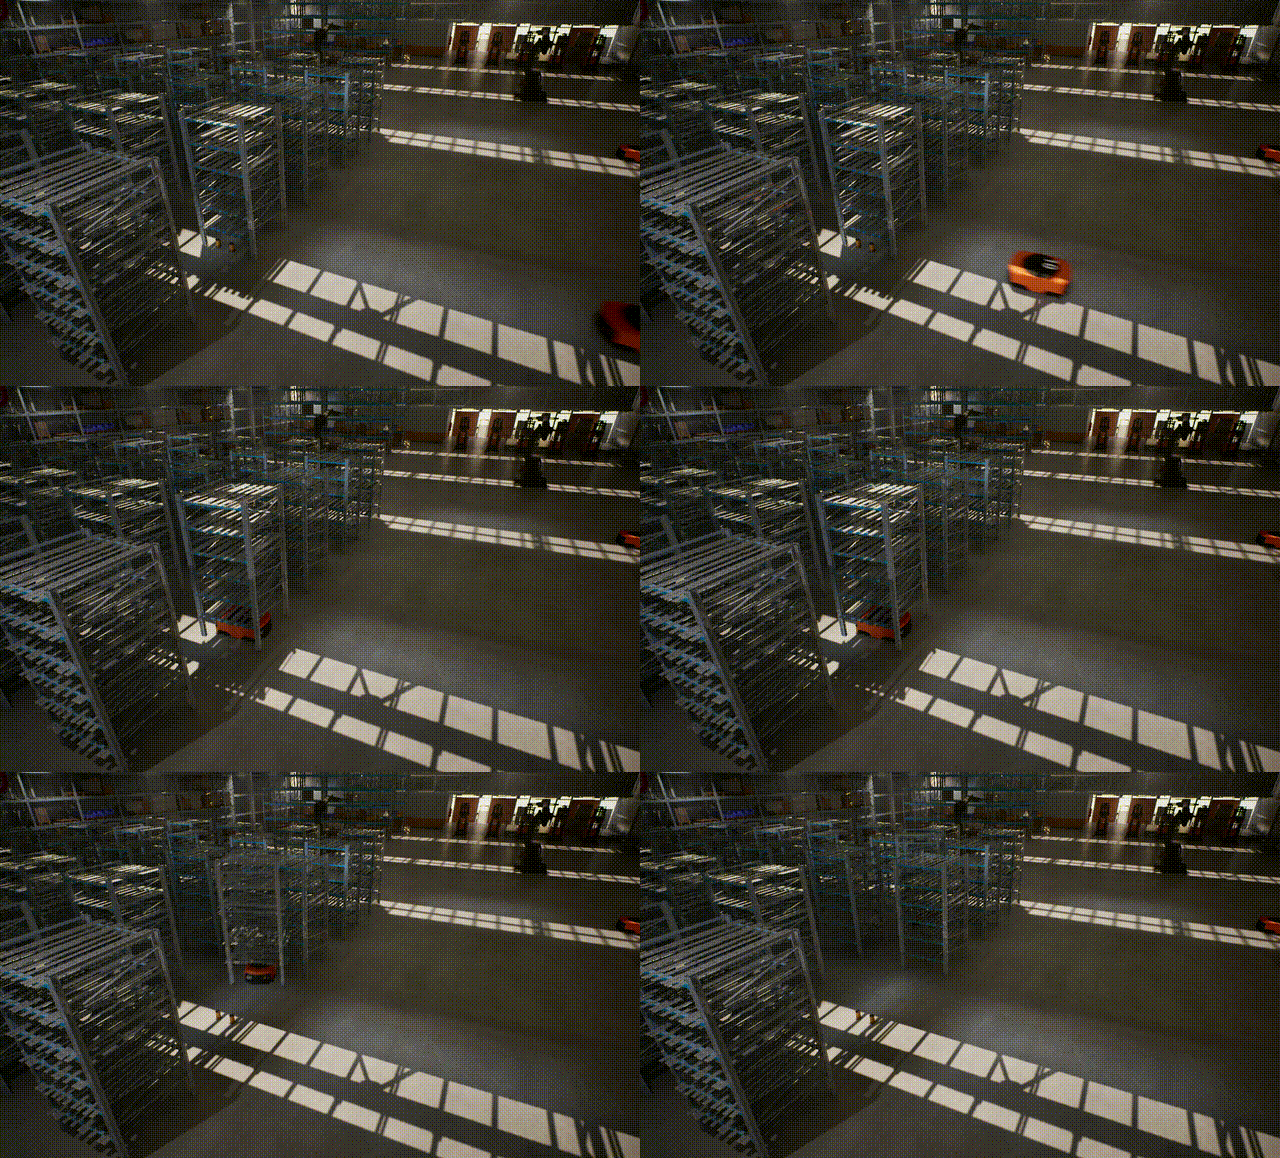
1. Drive to the rack pickup point — send_agv 10 P123
2. Lift the rack — send_device 10 liftrack (addressed to the AGV serial)
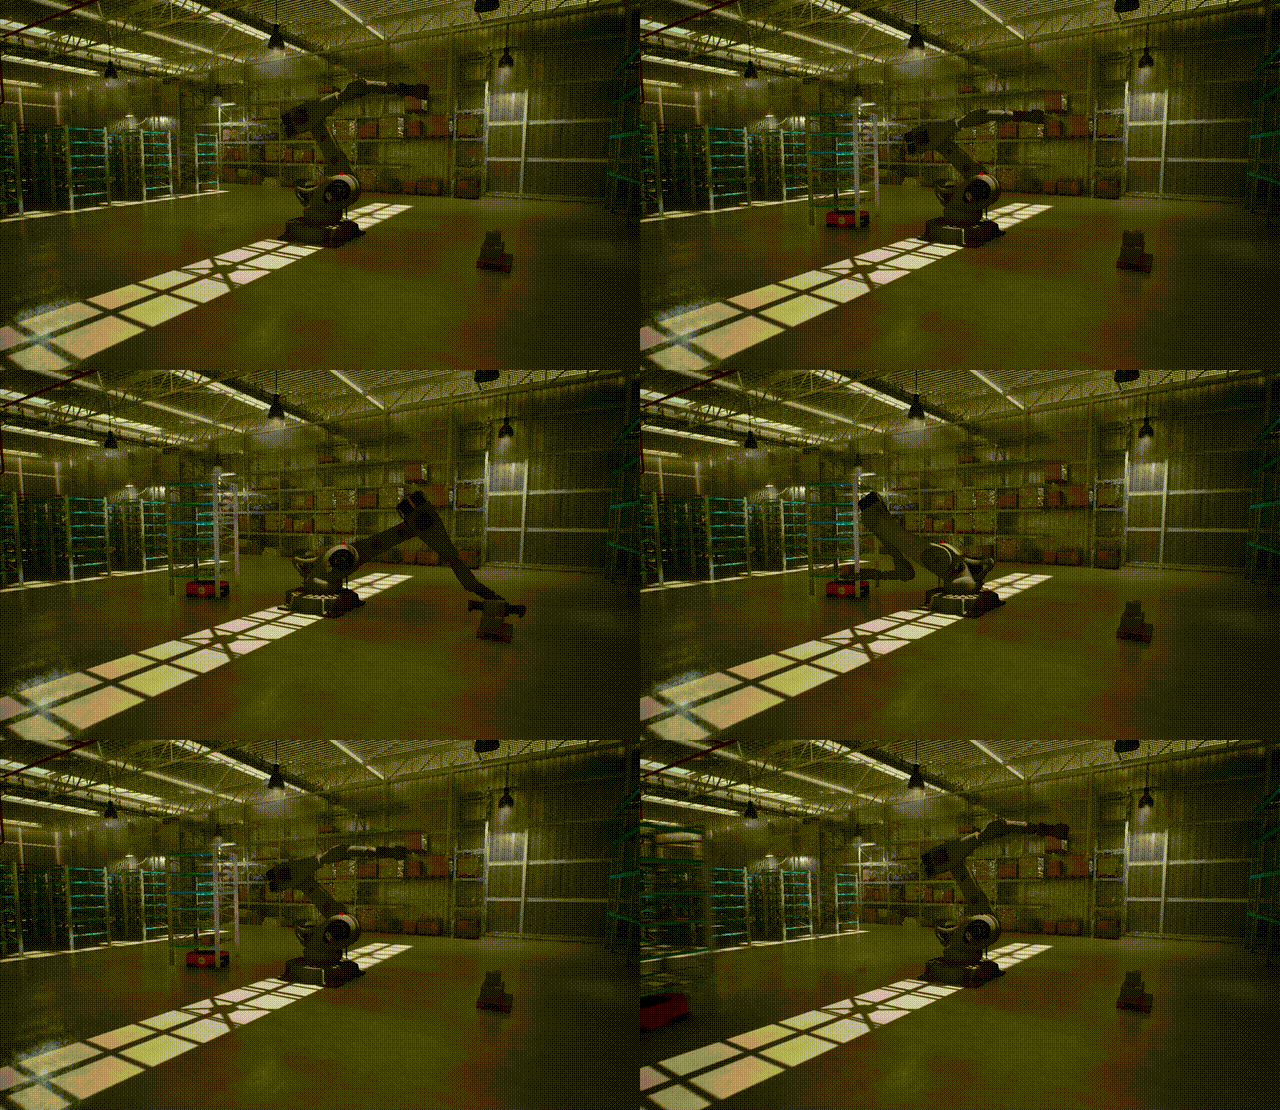
3. Drive to the manipulator station — send_agv 10 P501
4. Depalletize — load cargo onto the rack — send_device ManipulatorRobot1 depalletize
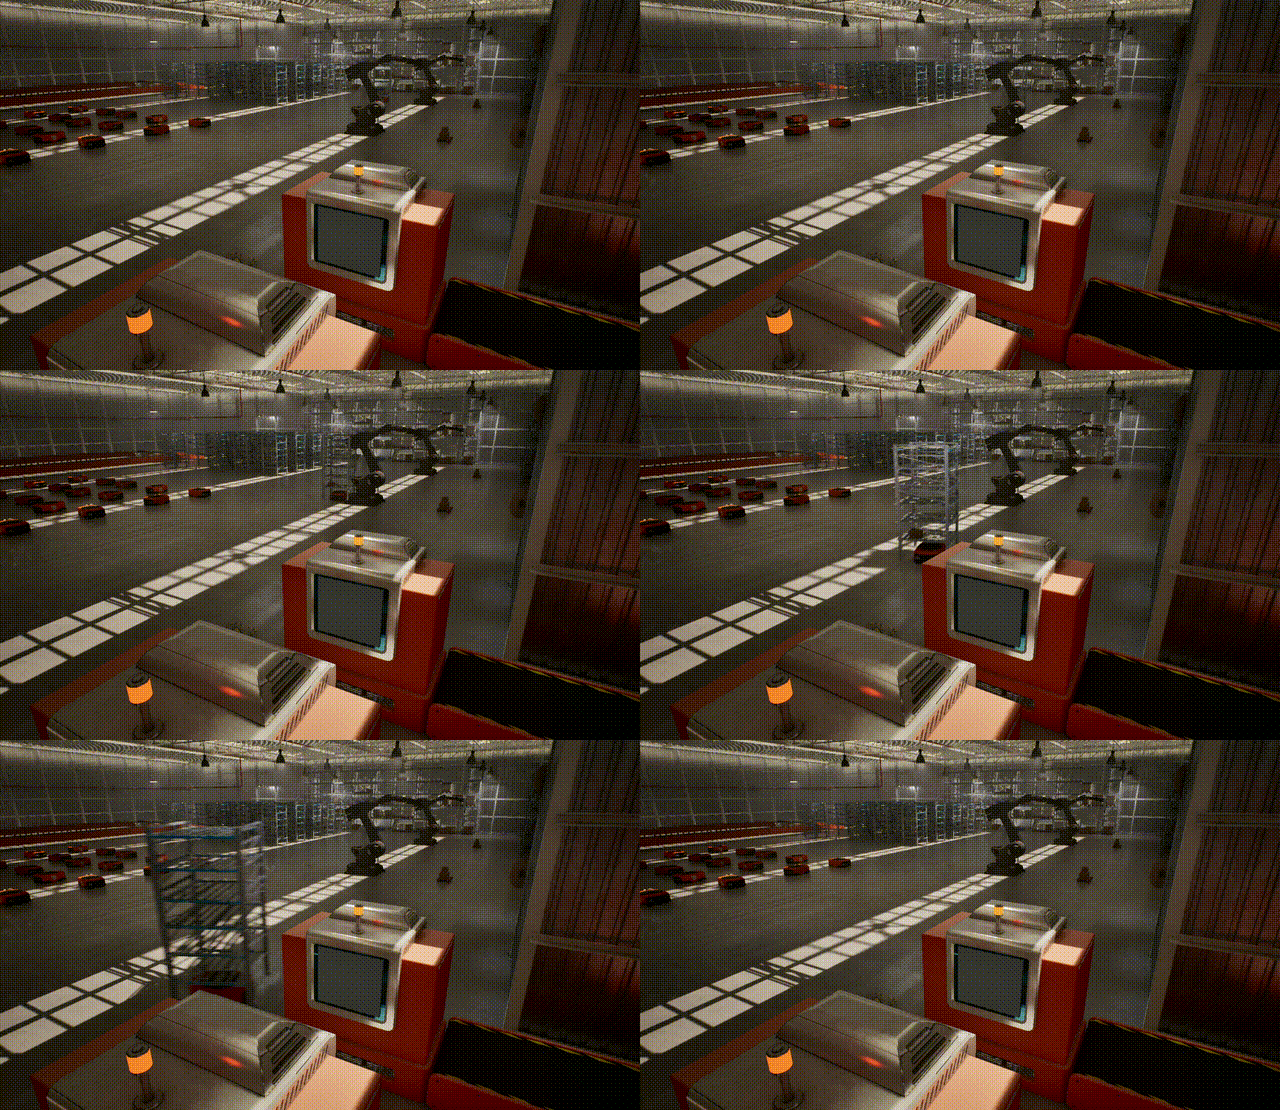
5. Drive to the conveyor — send_agv 10 P619
6. Conveyor dropoff — send_device Conveyor1 dropoff
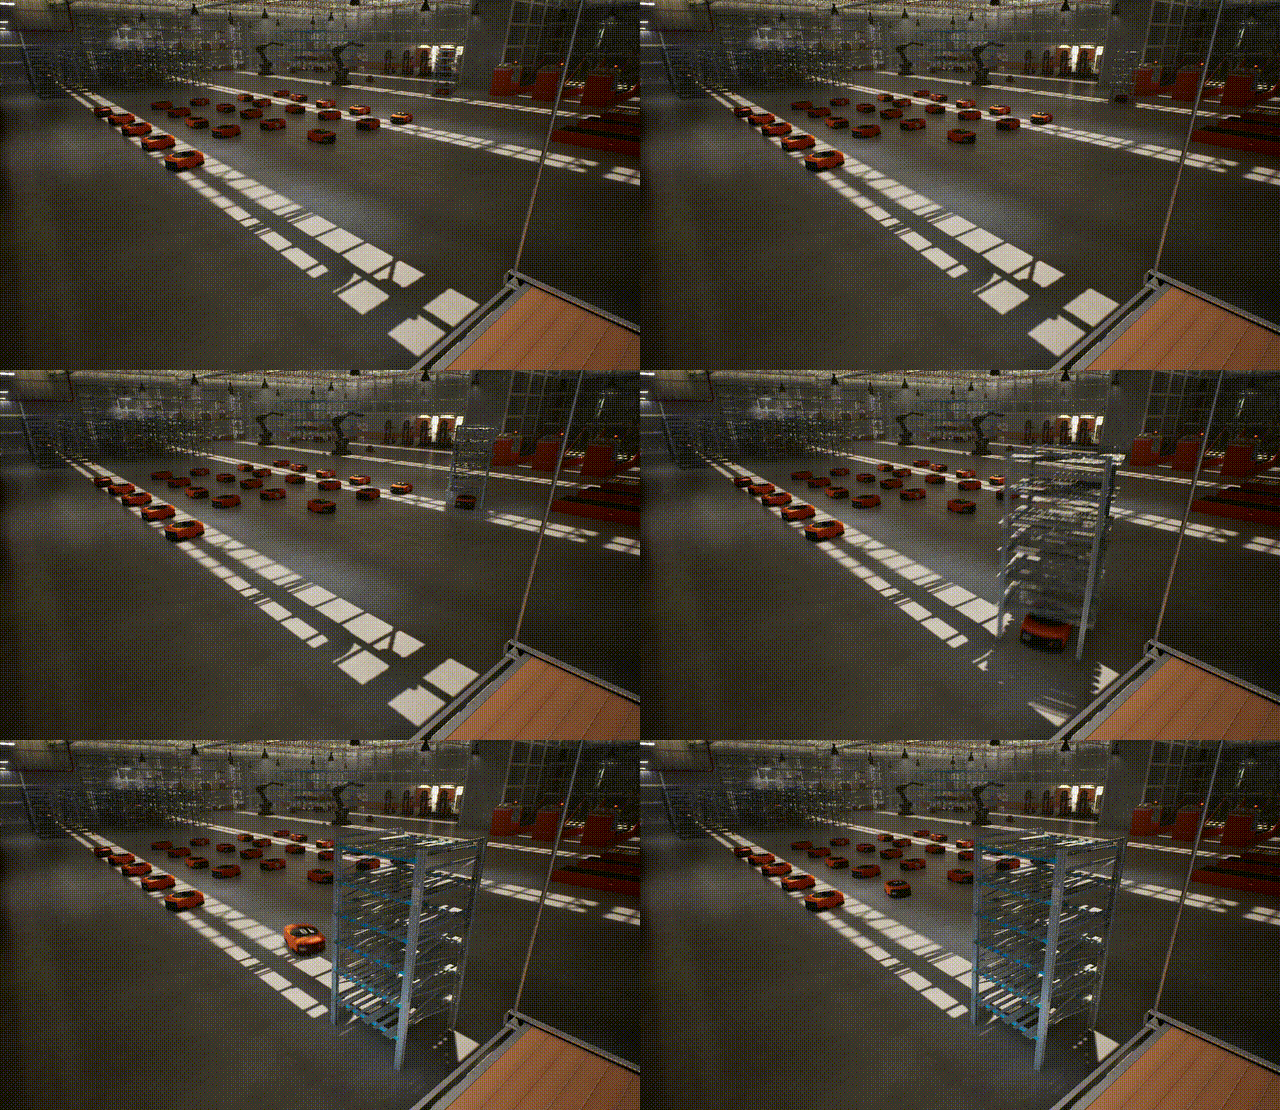
7. Drive to the drop point — send_agv 10 P68
8. Drop the rack — send_device 10 droprack
Drive it with the test scripts
Helper scripts in test_scripts/simulation/ wrap all of the above (lib.py, a thin paho-mqtt client):
cd ~/ros_industrial_ws/ros_industrial_demo/test_scripts/simulation
pip install paho-mqtt                 # one-time

# --- control an AGV ---
./send_agv.py 10 P123                 # move AGV serial 10 to waypoint P123
./send_agv.py 10 -30.8 -49.3          # ...or raw x,y in map-frame metres

# --- control a device ---
./send_device.py 10 liftrack          # rack lift (addressed to the AGV serial)
./send_device.py ManipulatorRobot1 depalletize
./send_device.py Conveyor1 dropoff

# --- full event-driven demos (each step waits on the live MQTT feed) ---
./demo_single_agv.py [serial]         # pick -> manipulate -> conveyor cycle (default serial 10)
./demo_single_agv_reset.py [serial]   # put the rack back and park
The steps are event-driven, not timed: send_agv blocks until the AGV's /state reports it arrived; send_device blocks until asset/<id>/task_status reports COMPLETED.
Watch the traffic
./watch.py                            # all topics
./watch.py asset 1                    # one device
./watch.py vda 10                     # one AGV
# ...or with the raw client:
mosquitto_sub -h localhost -p 1883 -t '#' -v
Troubleshooting
Some issues we've identified so far and their potential solutions.
UE5 simulation crashes immediately — cannot create a Vulkan device
Behavior: The simulation exits right after launch with a message like:
cannot create a vulkan device, try updating your video driver to a more recent version
This is a known issue on Ubuntu 24.04, which ships with an outdated Vulkan stack. Fix it with the steps below.
Step 1 — Switch to X11
Ubuntu 24.04 uses Wayland by default, but UE5 doesn't natively support Wayland. Disable Wayland in the GDM3 config to use X11:
sudo nano /etc/gdm3/custom.confUncomment (or add) this line:
WaylandEnable=falseThen reboot or restart GDM:
sudo systemctl restart gdm3
#or
sudo reboot
Step 2 — Install Vulkan drivers
sudo apt install libvulkan1 vulkan-tools mesa-vulkan-driversUE5 crashes with VK_ERROR_DEVICE_LOST
Behavior: The simulation crashes with:
VulkanRHI::vkDeviceWaitIdle(Device) failed, VkResult=-4error VK_ERROR_DEVICE_LOST
On laptops with both an Intel iGPU and an Nvidia GPU, UE5 may pick the wrong device or PRIME offload may misbehave. Force the Nvidia GPU when launching:
__NV_PRIME_RENDER_OFFLOAD=1
__GLX_VENDOR_LIBRARY_NAME=nvidia
Then try:
./RMF2_SIM.sh